Easy Crochet Honeycomb Stitch Pattern for Beginners
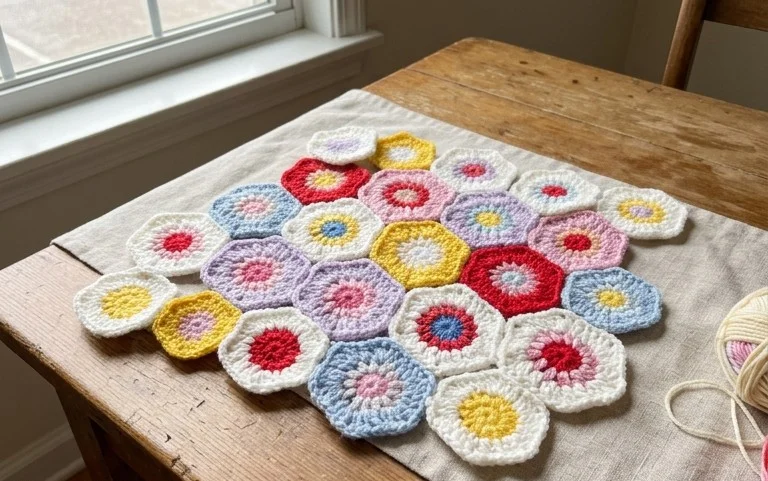
The honeycomb stitch creates a dense, hexagonal texture that feels thick and squishy under your fingers, making it a reliable choice for items that need to hold shape. You will notice the fabric has a raised, geometric appearance that works up more quickly than it looks. This project suits beginners who want to move past basic flat stitches and creates a sturdy material for kitchen scrubbers or small bags. I find the rhythmic nature of the chain spaces and double crochet stitches relaxing when working in a quiet space. You will master the specific sequence that forms these characteristic pockets, which adds a professional finish to your handmade goods without requiring advanced skill levels or complex counting methods.
Why You’ll Love This Pattern
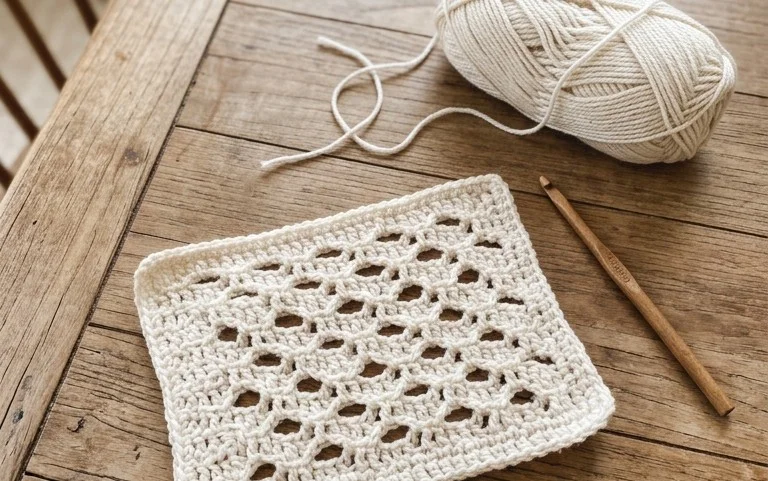
The Classic Crochet Dishcloth is a functional staple for any kitchen, designed to provide a durable and textured surface that handles daily scrubbing with ease. This project relies on the moss stitch, which creates a dense, squishy fabric that holds onto soap well while remaining flexible enough to reach into the corners of glassware. Because it uses a simple repeat, you can work on this while listening to a podcast or watching television without needing to look at your hands constantly. It is an ideal way to practice maintaining consistent tension throughout your stitches. Since the pattern requires very little yarn, it is a smart way to use up those leftover cotton scraps from larger projects.
I finished this dishcloth in one evening and the texture is much better than the store-bought versions I used to purchase. The moss stitch makes it feel really sturdy for washing dishes.
— Sarah, home crafter
Pattern Overview & Skill Level
- Skill Level: Beginner
- Approximate Time: 1–2 hours
- Construction: Worked flat in rows with a simple chain-space repeat
- Finished Dimensions: 8 inches by 8 inches
Materials & Supplies Needed
- Yarn: Worsted weight (#4) 100% cotton yarn, approximately 50–60 yards. Solid colors are recommended for kitchen durability.
- Hook Size: 5.0 mm / H-8
- Notions: Tapestry needle for weaving in ends, sharp scissors.
- Safe Yarn Substitutions: Any cotton or cotton-linen blend works well. Avoid acrylic, as it does not absorb water and will not clean dishes effectively. A thinner cotton yarn will result in a smaller cloth, while a bulky cotton will require a larger hook and may become too heavy when wet.
Stitch Guide & Abbreviations (US Terms)
- ch = chain
- sc = single crochet
- sk = skip
- st = stitch
- sp = space
- Moss Stitch: A pattern formed by alternating single crochet stitches and chain spaces.
Step-by-Step Pattern Instructions
The pattern is worked back and forth in rows. The turning chain does not count as a stitch.
- Row 1: Ch 30. Sc in the 4th ch from hook. Ch 1, sk 1 ch, sc in next ch. Repeat from * to * until the end of the row. Turn. (14 sc, 14 ch-1 spaces)
- Row 2: Ch 2. Sc in the first ch-1 space. Ch 1, sk the sc, sc in the next ch-1 space. Repeat from * to * across, ending with a sc in the space created by the turning ch. Turn. (14 sc, 14 ch-1 spaces)
- Rows 3–30: Repeat Row 2 until the piece measures approximately 8 inches square.
Finishing
Fasten off your yarn, leaving a 6-inch tail. Use your tapestry needle to weave the end back and forth through the base of the stitches on the back side of the cloth. Trim any excess yarn close to the fabric. If you notice the edges are slightly curled, pull the cloth gently into a square shape to even out the tension.
Care & Washing Instructions
- Machine wash in warm water with like colors to remove grease and food particles.
- Tumble dry on low heat or lay flat on a drying rack to prevent the cotton from shrinking.
- Avoid using fabric softener, as it leaves a waxy residue on the cotton fibers that reduces the dishcloth’s absorbency.
Pro Tips & Common Mistakes to Avoid
One common mistake for beginners is accidentally adding or dropping stitches at the end of the row. Always ensure you are working into the chain-space rather than the stitch itself to maintain the correct count. If you feel your work is pulling inward, your tension might be too tight; try going up a half-size in your hook. Use a stitch marker on the first row to keep track of your starting chain, as this helps prevent counting errors. If you want to make the cloth larger, simply increase your starting chain to any even number, which will adjust the width without changing the stitch repeat.
Frequently Asked Questions
Can I use a different yarn weight for this pattern?
You can use DK or bulky weight yarn, but you will need to adjust your starting chain length to reach your desired width. DK yarn will create a thinner cloth, while bulky yarn will make a very thick, heavy scrubber.
Is this pattern suitable for someone who has never crocheted before?
Yes, this is an excellent starter project. It only uses two basic skills—the chain stitch and the single crochet—making it perfect for building confidence without complex shaping.
Can I sell the dishcloths I make from this pattern?
Check the designer’s specific terms regarding commercial use. Generally, small-batch sales of items you have handmade yourself are acceptable, but you should not redistribute the pattern text itself.
How do I keep my edges straight while working in rows?
Ensure you are always working your last stitch of the row into the turning chain-space from the previous row. Skipping this space is the most frequent cause of edges that taper inward.
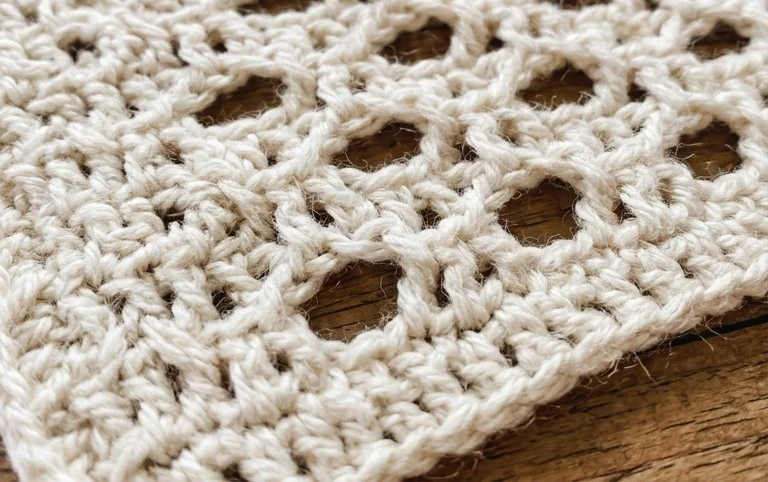
Your finished honeycomb project brings a tidy and structured aesthetic to your space that holds up well after repeated use. If you want to change the visual weight of your stitches, try switching to a thinner mercerized cotton for a tighter look or doubling up your colors to create a bold, modern striped effect. I love seeing how these textures turn out in your own homes, so please share a photo of your work online. You can find more free patterns and tutorials by browsing the project archives on the blog.