Easy Crochet Food Patterns: Beginner Step-by-Step Guide
Crocheted food items bring a whimsical touch to a play kitchen or a desk shelf, feeling soft to the touch and surprisingly realistic when you use the right weight of yarn. Beginners enjoy these projects because they work up quickly while using minimal materials, allowing you to practice circular increases and stuffing techniques without committing to a massive project. You will find that creating these miniature treats is highly rewarding, especially when you see how a simple ball of cotton yarn transforms into a recognizable slice of pizza or a plump strawberry. We will cover the specific stitches required for building volume and achieving those clean edges that make handmade items look professional.
Why Crocheters Love It
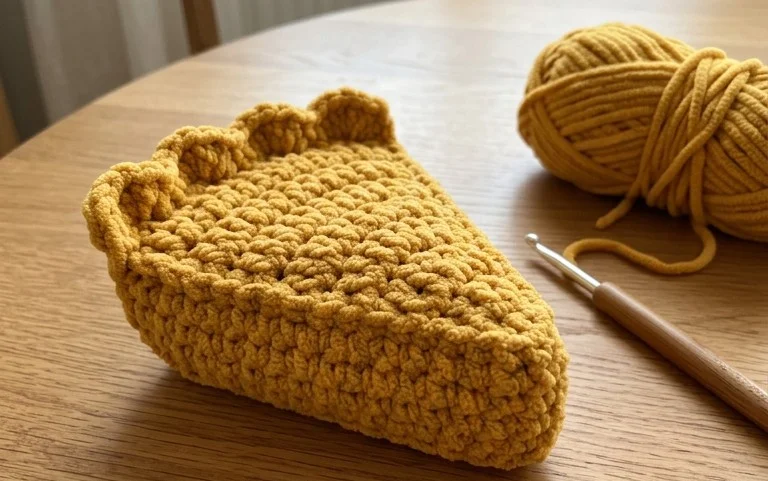
The Classic Amigurumi Whale is a project that works up in less than an hour, making it an ideal choice for testing new yarn colors or clearing out leftover scrap yarn. Its simple construction relies on basic shaping techniques that provide a smooth, professional finish without the need for complex color changes. Because the body and tail are worked in one continuous piece, you spend less time sewing and more time enjoying your finished plush toy. It is a favorite among makers who need a reliable, high-reward gift for baby showers or craft markets.
I managed to finish three of these during a single movie night. The pattern instructions were easy to follow and the result is incredibly cute and sturdy.
— Sarah, amigurumi hobbyist
Pattern Overview & Skill Level
- Skill Level: Beginner
- Approximate Time: 45 to 60 minutes
- Construction: Worked in continuous rounds from the nose to the tail, with the fins sewn on separately.
- Finished Dimensions: Approximately 4 inches long and 3 inches wide.
Materials & Supplies Needed
- Yarn: Worsted weight (#4), 100% cotton yarn (approx. 30 yards for the main color).
- Hook Size: 3.5 mm (E-4) for a tight stitch that prevents stuffing from showing through.
- Notions: Polyester fiberfill stuffing, two 6mm plastic safety eyes, yarn needle, and a stitch marker.
- Yarn substitutions: Acrylic yarn will result in a softer, squishier toy, while cotton provides better stitch definition. Using a heavier yarn with a larger hook will increase the finished size significantly.
Stitch Guide & Abbreviations (US Terms)
- ch: chain
- sc: single crochet
- inc: increase (work 2 sc in the same stitch)
- dec: decrease (single crochet 2 stitches together using the invisible decrease method)
- sl st: slip stitch
- MR: magic ring
- st(s): stitch(es)
- Invisible decrease: Insert hook into the front loop of the next two stitches, yarn over, pull through both front loops, yarn over, and pull through both loops on the hook.
Step-by-Step Pattern Instructions
Whale Body
The body is worked in continuous rounds. Place a stitch marker at the start of each round to keep track of your position.
- Rnd 1: Start 6 sc into a magic ring (6 sts).
- Rnd 2: Work 2 sc in each st around (12 sts).
- Rnd 3: [1 sc, inc] repeat 6 times (18 sts).
- Rnd 4: [2 sc, inc] repeat 6 times (24 sts).
- Rnd 5-9: Sc in each st around (24 sts).
- Rnd 10: [2 sc, dec] repeat 6 times (18 sts).
- Rnd 11: [1 sc, dec] repeat 6 times (12 sts). Insert safety eyes between rounds 7 and 8, spacing them about 4 stitches apart. Add fiberfill stuffing firmly.
- Rnd 12: Dec 6 times (6 sts). Fasten off, leaving a tail to weave through the remaining front loops to close the opening.
Tail and Fins
The tail is worked as a small triangle flap attached to the back of the body.
- Row 1: Attach yarn to the back center of the body. Ch 4, sc in second ch from hook, hdc in next ch, dc in final ch. Fasten off and weave in ends.
- Fins (make 2): Ch 4, sc in second ch from hook, hdc in next ch, sc in final ch. Fasten off, leaving a tail for sewing.
Assembly
Position the two fins on either side of the body, approximately at round 8. Use the yarn needle and the tail ends to secure the fins firmly to the body. Weave in any remaining loose ends inside the body before final closing.
Care & Washing Instructions
- Hand wash the whale in cool water using a mild wool-safe detergent to preserve the shape of the fiberfill.
- Lay the item flat on a clean towel in a shaded area to air dry completely.
- Avoid machine washing, as the agitation can cause safety eyes to scratch and the internal stuffing to clump over time.
Pro Tips & Common Mistakes to Avoid
- Maintain consistent tension throughout the rounds. If your stitches are too loose, the stuffing will peek through the gaps. You can test this by pulling on your work; if you see large holes, drop down half a hook size.
- Always use a stitch marker at the start of every round. It is easy to lose count when working in continuous spirals, and the marker keeps your increases and decreases perfectly aligned.
- When weaving in ends, bring the yarn through the center of the body before trimming. This prevents the knot from sitting on the surface and creates a cleaner, more professional finish.
- To adjust the size, add more rows to the body section (rounds 5-9). Keep in mind that increasing the size will require more fiberfill and roughly 10 extra yards of yarn for every two additional rows.
Frequently Asked Questions
Can I use a larger hook for this pattern?
Yes, you can use a larger hook, but the resulting whale will be larger and the stitches will be looser. If you choose a larger hook, increase your yarn weight accordingly to keep the fabric dense enough to hold the stuffing.
Is this project suitable for absolute beginners?
This project is ideal for beginners because it uses only basic single crochet stitches and simple shaping. Mastering the magic ring and invisible decrease on this pattern provides a strong foundation for more complex amigurumi projects.
Can I sell the items I make from this pattern?
You are welcome to sell items made from this pattern as long as you credit the original designer. Do not reproduce or sell the pattern document itself.
What is the best way to stuff the whale?
Use small clumps of fiberfill rather than one large piece. This prevents lumpy sections and ensures the whale maintains a smooth, rounded shape. Always stuff the nose and edges firmly before closing the final rounds.
These tiny crocheted treats make fantastic additions to any collection and are sure to bring a smile to anyone who sees them on your shelf. You can experiment with using velvet yarn for a softer texture or adding a small loop to turn your food items into hanging keychains. Please post a photo of your finished creation to social media so we can see which colors you chose for your set. Feel free to browse through the rest of our free patterns on the blog to find your next creative project.