Easy Crochet Coaster Pattern: Step-by-Step Tutorial
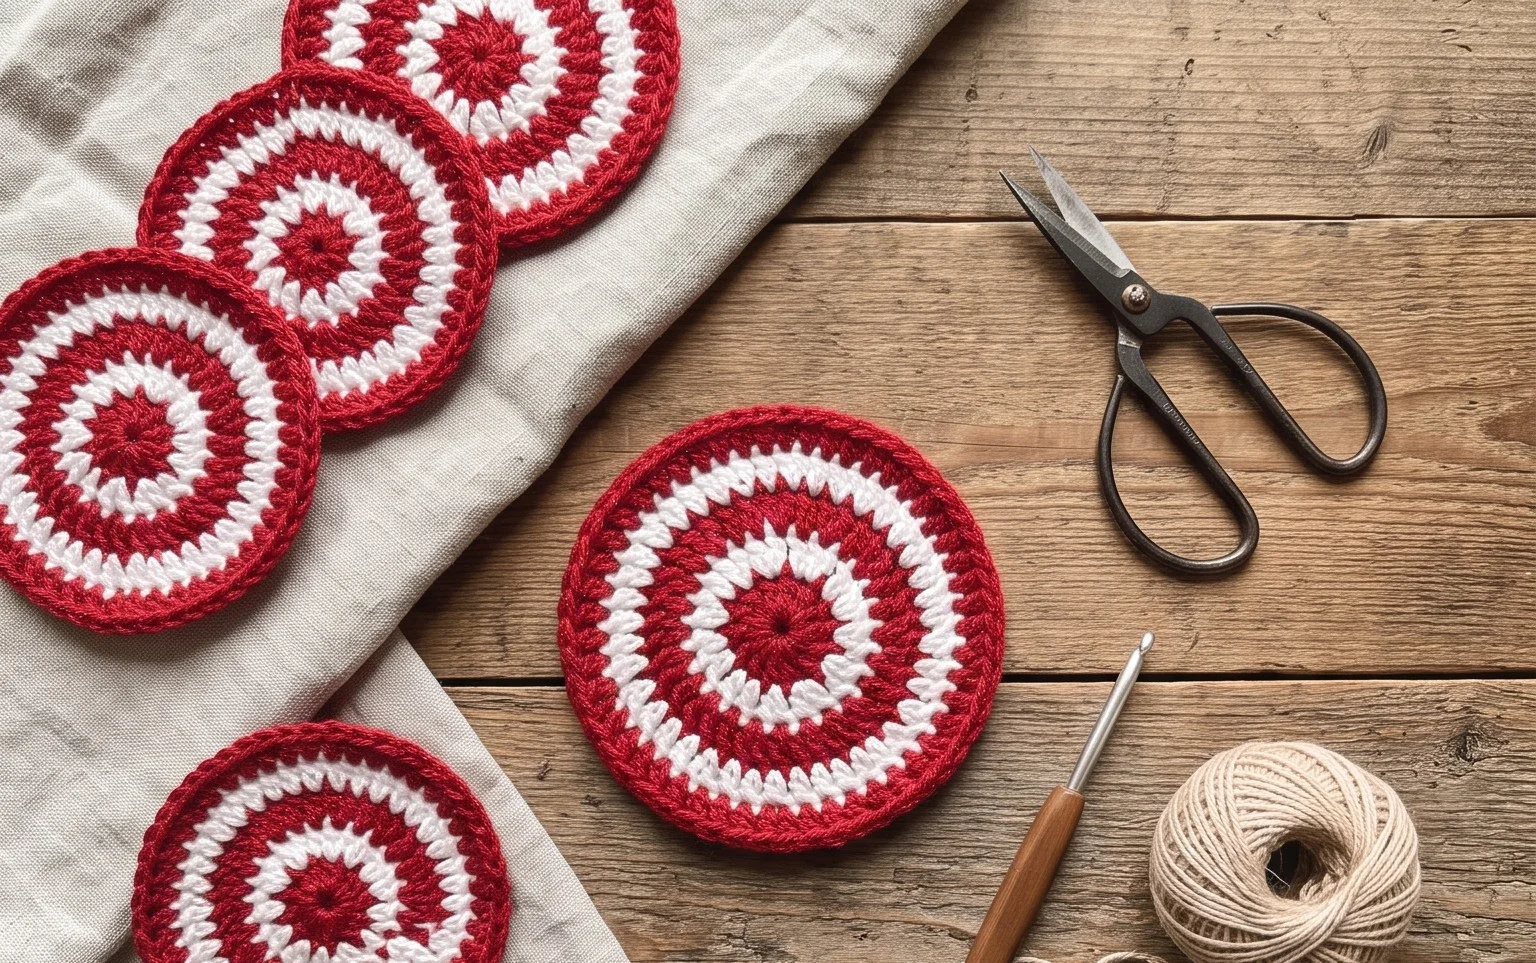
These dense, circular cotton coasters sit firmly on a coffee table without curling, providing a reliable barrier for condensation that would otherwise leave rings on your wood surfaces. Beginners often find this project rewarding because it utilizes a repetitive single crochet technique that results in a clean, professional finish in under thirty minutes. You will learn how to manage consistent increases to keep your circle flat, an essential skill for many future round projects. Making these items feels productive and quiet, especially when you need a quick gift for a housewarming party or a simple way to refresh your living room decor.
Why You’ll Love This Pattern
This beginner-friendly crochet coaster pattern uses simple single crochet stitches and a tight tension to create a sturdy, heat-resistant surface for your favorite mug. It works up in under thirty minutes, making it an excellent choice for using up small amounts of leftover cotton yarn from larger projects. The circular design lays perfectly flat without curling, and the dense fabric ensures that moisture from cold drinks stays on the coaster rather than soaking through to your furniture. Because of the quick turnaround time, these make professional-looking gifts for housewarmings or dinner parties when crocheted in coordinated color sets.
I managed to whip up a set of four coasters in just one evening while watching a show. The instructions are very clear about the increase points, which kept the circle from ruffling.
— Sarah, hobbyist maker
Pattern Overview & Skill Level
- Skill Level: Beginner
- Approximate Time: 20-30 minutes per coaster
- Construction: Worked in continuous rounds from the center outward
- Finished Dimensions: Approximately 4 inches in diameter
Materials & Supplies Needed
- Yarn: Worsted weight (#4) 100% cotton yarn, approximately 15 yards per coaster. Cotton is preferred for its heat resistance and absorbency.
- Hook Size: 4.5 mm / US 7 or a 5.0 mm / H-8, depending on your personal tension.
- Notions: Tapestry needle for weaving in ends, a stitch marker to track the start of rounds.
- Yarn Substitutions: Acrylic yarn can be substituted for decorative purposes, though it will not absorb moisture as well as cotton and may melt if placed under very hot items. Using a lighter weight yarn will result in a smaller coaster, while a heavier weight will increase the finished diameter.
Stitch Guide & Abbreviations (US Terms)
- MR: Magic ring
- ch: Chain
- sc: Single crochet
- inc: Increase (work 2 sc in the same stitch)
- sl st: Slip stitch
- st(s): Stitch(es)
- FO: Fasten off
Step-by-Step Pattern Instructions
Coaster Body
- Rnd 1: Start with a MR, work 6 sc into the ring. Tighten to close. (6 sts)
- Rnd 2: Work 2 sc in each st around. (12 sts)
- Rnd 3: 1 sc in next st, inc in next st repeat from * to * 6 times. (18 sts)
- Rnd 4: 1 sc in each of the next 2 sts, inc in next st repeat from * to * 6 times. (24 sts)
- Rnd 5: 1 sc in each of the next 3 sts, inc in next st repeat from * to * 6 times. (30 sts)
- Rnd 6: 1 sc in each of the next 4 sts, inc in next st repeat from * to * 6 times. (36 sts)
- Rnd 7: 1 sc in each of the next 5 sts, inc in next st repeat from * to * 6 times. (42 sts)
Finishing
After completing Round 7, work one final round of slip stitches into the top loops of the previous round to create a smooth, clean edge. Cut the yarn, leaving a 6-inch tail. Use your tapestry needle to pull the yarn tail through the final loop and weave it securely into the back of the coaster. Ensure all ends are trimmed close to the fabric to keep the coaster surface level.
Care & Washing Instructions
- Machine wash your cotton coasters on a gentle cycle in cool water.
- Lay the coasters flat on a clean towel to dry completely to prevent stretching.
- If the coasters lose their shape, lightly steam them with an iron set to the cotton/linen setting while pinning them to a flat surface.
Pro Tips & Common Mistakes to Avoid
Maintain consistent tension throughout your rounds to ensure the coaster remains flat. If your circle begins to cup like a bowl, your tension is likely too tight; switch to a larger hook. Conversely, if the edges become wavy or ruffled, you are increasing too quickly or your tension is too loose. Always use a stitch marker at the beginning of each round to keep track of your count, as it is easy to lose your place in continuous rounds. When weaving in your yarn ends, weave them in two different directions to ensure they do not pull out through repeated use.
Frequently Asked Questions
Can I make these coasters larger?
Yes, continue the increase pattern by adding one extra sc between the increases in each subsequent round (e.g., 1 sc in next 6 sts, inc). Note that this will require more yarn.
Is this pattern suitable for complete beginners?
This is an ideal first project as it only requires knowledge of the single crochet stitch and working in the round using a magic ring.
Can I sell the finished coasters?
You are welcome to sell items made from this pattern, but please credit the design when listing them online or at local craft markets.
What is the best way to keep the magic ring tight?
After finishing the first round, pull the tail of your magic ring firmly before weaving it in to ensure the center hole stays closed permanently.
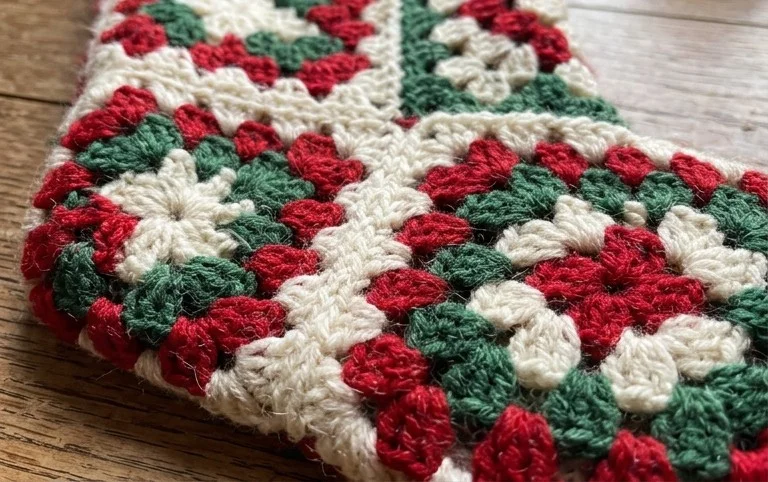
Your finished set of coasters adds a handmade charm to your home that feels both grounded and practical. Consider using a variegated yarn for a playful stripe effect if you want to experiment with the look of your set. Seeing your finished projects is always a highlight for me, so please share your photos on Instagram or Pinterest to show off your color choices. You can find more free crochet patterns and project ideas updated weekly on the blog for your next quiet afternoon session.