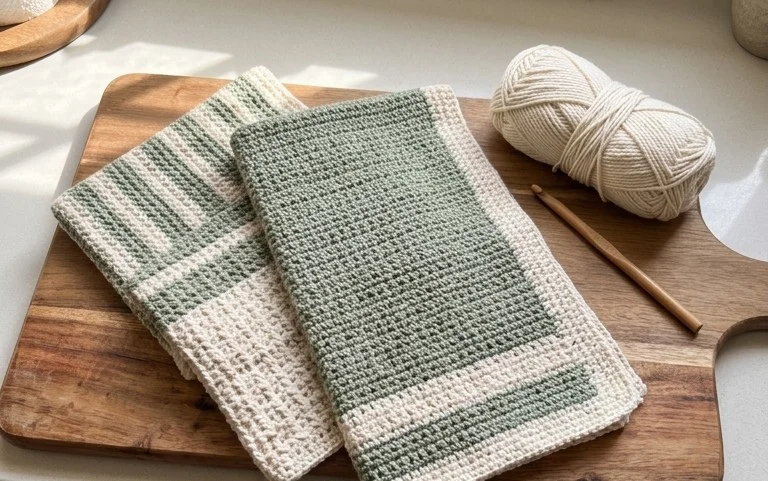
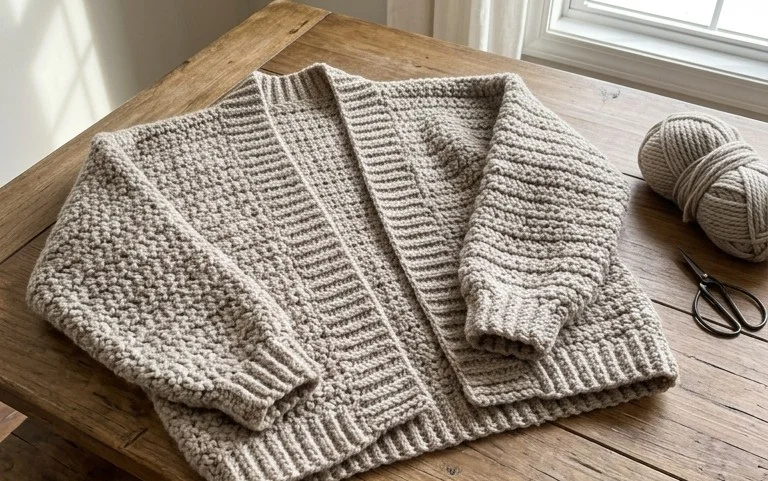
Easy Granny Square Crochet Pattern for Beginners
Soft wool squares with neat, crisp corners represent the heart of the Nordic Hook Club collection, offering a tactile experience that connects you to generations of makers. These individual units feel substantial yet flexible, making them useful for thick blankets that provide genuine warmth or small decorative items like coasters that protect your wooden surfaces. Because the repetitive nature of the double crochet cluster is so soothing, this pattern suits beginners who want to establish consistent tension and home decor lovers building a collection. You will learn to manage your yarn flow and create sharp corners that lay perfectly flat without any curling, providing a solid foundation for every blanket or bag you design later.
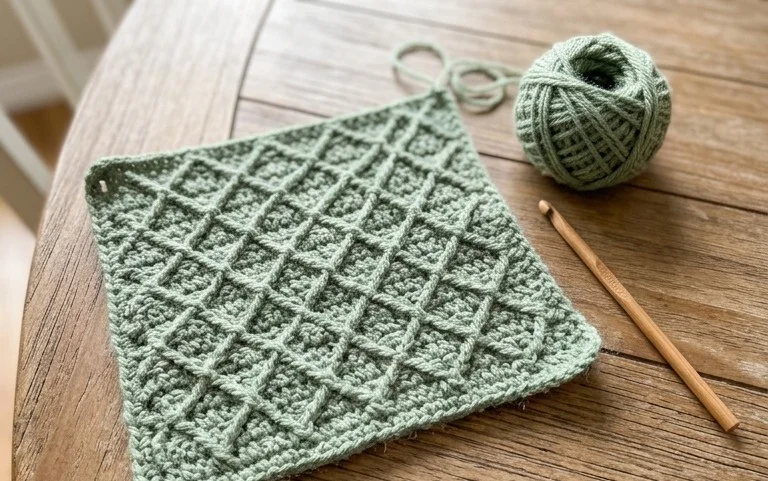
Why This Project Is Worth Making
The Classic Crochet Granny Square is the fundamental building block for countless blankets, cardigans, and bags. This project relies on a repetitive, rhythmic stitch pattern that makes it ideal for practicing tension control without needing to track complex row counts. Because it works from the center outward, you can easily stop at any size to create a coaster, a dishcloth, or a full-sized afghan square. The simple cluster-based construction also makes it a forgiving choice for beginners who are just moving beyond basic chains and single crochets.
I finally learned how to keep my corners square using this pattern, and now I have a whole stack of them for a scrap-yarn blanket.
— Sarah, beginner crocheter
Pattern Overview & Skill Level
- Skill Level: Beginner
- Approximate Time: 30 minutes per square
- Construction: Working in joined rounds from the center out
- Finished Dimensions: Approximately 5 inches by 5 inches using medium weight yarn
Materials & Supplies Needed
- Yarn: Worsted weight (#4) cotton or acrylic yarn, approximately 20 yards per square.
- Hook Size: 5.0 mm (US H-8) crochet hook.
- Notions: Tapestry needle for weaving ends, a pair of sharp scissors.
- Yarn substitutions: You can use DK weight yarn for a smaller, tighter square, though you may need to add additional rounds to reach your desired size. Using bulky yarn will create a much larger, faster-working square but will require a larger 6.0 mm hook.
Stitch Guide & Abbreviations (US Terms)
- ch = chain
- st = stitch
- sl st = slip stitch
- dc = double crochet
- dc cluster = 3 double crochet stitches worked into the same space
- sp = space
- MR = magic ring (or alternatively, ch 4 and sl st to the first ch to form a loop)
Step-by-Step Pattern Instructions
The Granny Square
- Rnd 1: Start with a magic ring. Ch 3 (counts as first dc), work 2 dc into the ring. Ch 2, work 3 dc into the ring. Ch 2, work 3 dc into the ring. Ch 2, work 3 dc into the ring. Ch 2, sl st to the top of the initial ch-3 to join. (12 dc, 4 ch-2 spaces)
- Rnd 2: Sl st into the first ch-2 corner space. Ch 3, 2 dc in the same sp, ch 2, 3 dc in the same sp (first corner made). *Ch 1, move to the next corner sp. Work 3 dc, ch 2, 3 dc in that sp. Repeat from * two more times. Ch 1, sl st to the top of the initial ch-3. (24 dc, 4 ch-2 spaces, 4 ch-1 spaces)
- Rnd 3: Sl st into the next corner space. Ch 3, 2 dc, ch 2, 3 dc in the same corner sp. Ch 1, work 3 dc into the next ch-1 side sp. Ch 1, *work 3 dc, ch 2, 3 dc in the next corner sp. Ch 1, work 3 dc into the next side sp. Ch 1. Repeat from * two more times. Sl st to the top of the initial ch-3. (36 dc, 4 ch-2 spaces, 8 ch-1 spaces)
- Rnd 4: Continue the established pattern. Work 3 dc, ch 2, 3 dc in each corner. Work 3 dc in each ch-1 side space along the edges, with ch 1 between every cluster. (48 dc)
Finishing
Once the square reaches your desired size, fasten off your yarn, leaving a 6-inch tail. Use your tapestry needle to weave the tail through the base of the stitches on the back side of the square to secure it. Trim any excess yarn flush with the fabric.
Care & Washing Instructions
- Machine wash your finished items on a gentle cycle using cool water.
- Lay the square flat on a clean towel to air dry, reshaping it into a perfect square while damp.
- Avoid using high heat in a tumble dryer, as this can shrink natural fibers and dull the texture of your stitches.
Pro Tips & Common Mistakes to Avoid
- Maintain consistent tension by holding your yarn with a steady grip, as loose stitches in the cluster will make the square look floppy.
- Use a stitch marker in the first chain of your starting ch-3 to help you identify where to join the round at the end.
- Weave your yarn ends in opposite directions to prevent them from slipping out over time during regular washings.
- To adjust the size, simply add more rounds following the pattern logic: corners always receive (3 dc, ch 2, 3 dc) and side spaces always receive 3 dc.
Frequently Asked Questions
Can I use different types of yarn in one blanket?
Yes, but ensure all yarns are of the same weight class to keep the squares uniform in size. Mixing cotton and acrylic may result in different shrinkage rates during washing.
Is this pattern suitable for complete beginners?
This is a foundational pattern that introduces the double crochet stitch and working in the round, making it an ideal first project after mastering basic chains.
How do I join these squares together?
You can join them using a whip stitch or a single crochet seam along the back loops of the outer edges once you have finished as many squares as your project requires.
Can I sell the items I make from this pattern?
You are welcome to sell finished products you create using this design, provided you credit the pattern and do not distribute the instructions yourself.
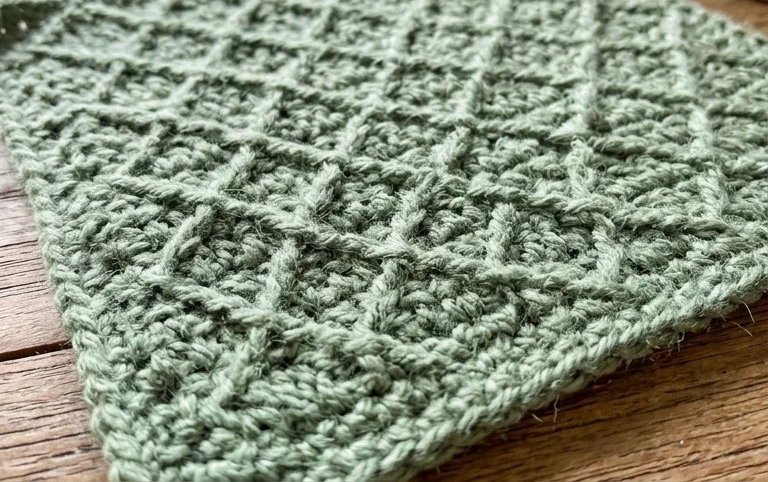
A simple stack of these squares produces a dense, heirloom-style blanket when joined together with a slip stitch or single crochet seam. You might experiment by using variegated yarn for a playful, multicolored finish or doubling the yarn weight to create a heavier rug for your entryway. Seeing your progress grow from a single center point to a finished square feels rewarding, so share your progress by posting a photo on Instagram or Facebook. Head over to our main library to find more free projects for your next afternoon hobby session.