Easy Bat Crochet Pattern: Beginner-Friendly Halloween DIY
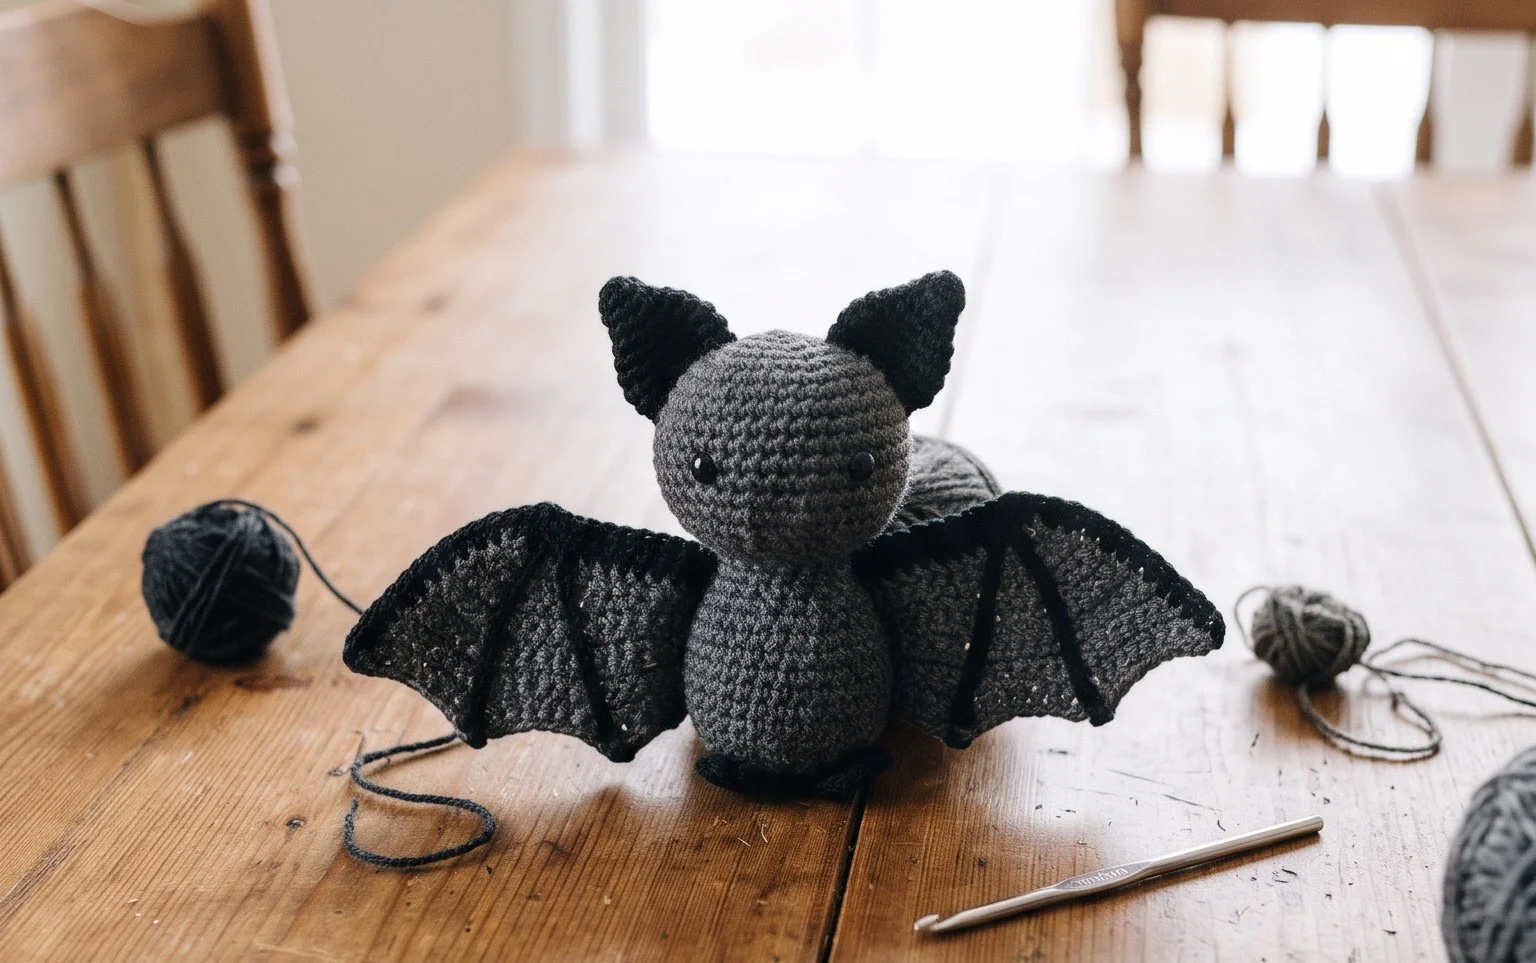
These hanging black creatures bring a distinct charm to any October display with their soft, rounded bodies and simple wing construction. I find that the firm structure of these cotton-based figures makes them sturdy enough for frequent handling by children while remaining light enough to dangle from a doorframe. New makers appreciate the repetitive single crochet stitches that form the core, helping you build confidence in shaping without dealing with fiddly sewing pieces. This project feels rewarding because you start with a ball of yarn and end with a recognizable, personality-filled character in just a few hours of focused work.
Why Crocheters Love It
This beginner-friendly project works up quickly, making it a satisfying choice when you need a handmade gift or a quick personal accessory. Because it requires only a small amount of yarn, it is an effective way to use up leftover skeins from larger projects. The simple stitch pattern provides a relaxing, meditative rhythm that is easy to pick up and put down, even for those with busy schedules. Many makers enjoy this pattern because it serves as an excellent introduction to basic construction techniques without the intimidation of complicated shaping or sewing.
I managed to finish this over the weekend while watching television. The instructions are very clear, and the final piece looks professional and sturdy.
— Sarah, hobbyist crocheter
Pattern Overview & Skill Level
- Skill Level: Beginner
- Approximate Time: 2 to 3 hours
- Construction: Working in continuous rounds to create a seamless, circular base and body
- Finished Dimensions: 4 inches in diameter and 5 inches in height
Materials & Supplies Needed
- Yarn: Worsted weight (#4), 100% cotton, approximately 60 yards. Cotton provides the structure necessary for this item to hold its shape.
- Hook Size: 5.0 mm (H-8) crochet hook.
- Notions: Tapestry needle for weaving in ends, a stitch marker for tracking rounds, and scissors.
- Safe yarn substitutions: Acrylic yarn can be used for a softer, more flexible finish, though the item will be slightly less rigid. Avoid using bulky or lightweight yarn, as this will significantly alter the final dimensions and require adjustments to the stitch counts.
Stitch Guide & Abbreviations (US Terms)
- ch = chain
- st = stitch
- sc = single crochet
- inc = increase (2 sc in the same stitch)
- dec = decrease (insert hook into front loops of next two stitches, yarn over, pull through both, yarn over and pull through remaining two loops)
- sl st = slip stitch
- MR = magic ring
- BLO = back loop only
Step-by-Step Pattern Instructions
Base and Body
- Rnd 1: Start with a MR, work 6 sc into the ring. (6 sts)
- Rnd 2: Work 2 sc in each st around. (12 sts)
- Rnd 3: 1 sc, inc repeat 6 times. (18 sts)
- Rnd 4: 2 sc, inc repeat 6 times. (24 sts)
- Rnd 5: 3 sc, inc repeat 6 times. (30 sts)
- Rnd 6: Work in BLO, sc in each st around. (30 sts)
- Rnd 7-15: Sc in each st around. (30 sts)
- Rnd 16: 3 sc, dec repeat 6 times. (24 sts)
- Rnd 17: 2 sc, dec repeat 6 times. (18 sts)
Finishing
Fasten off, leaving a 6-inch tail for weaving. Use the tapestry needle to weave the yarn through the front loops of the remaining stitches and pull tight to close the opening. Secure the yarn inside the piece and trim the excess. Ensure the base sits flat by gently pulling the sides outward to shape the fabric.
Care & Washing Instructions
- Hand wash in cool water using a gentle detergent.
- Do not wring out the item; instead, press it between two towels to remove excess water.
- Lay flat on a clean, dry surface to air dry, reshaping the piece to its original circular form while damp.
Pro Tips & Common Mistakes to Avoid
Maintain consistent tension throughout the project to ensure the stitches remain even, as uneven tension will cause the sides to warp. Always place a stitch marker in the first stitch of every round to avoid losing your place in the pattern, which is the most common reason for incorrect stitch counts. When weaving in your ends, run the needle through the stitches on the inside of the base to keep the exterior surface clean and invisible. If you wish to adjust the size, adding more rounds of increases at the start will make the base wider, but remember that this will consume significantly more yarn and will require you to adjust the height accordingly to maintain proportions.
Frequently Asked Questions
Can I use a different yarn weight for this project?
Changing the yarn weight will alter the size and structure of the item. Using a thinner yarn will result in a smaller, delicate piece, while thicker yarn will produce a larger, bulkier item. Adjusting the hook size to match the yarn recommendation on the label is necessary if you choose to deviate from the specified yarn.
Is this pattern suitable for someone holding a crochet hook for the first time?
This pattern is designed for beginners. It focuses on fundamental stitches like the single crochet and basic increasing and decreasing techniques. Taking the time to practice these stitches before starting the pattern will make the process much smoother.
How do I know if my stitch count is correct?
Counting your stitches at the end of every round is the best way to catch errors early. If the round ends and your stitch count does not match the instructions provided, identify where you added or missed a stitch in the previous round and correct it before moving forward.
Am I allowed to sell items made from this pattern?
You are welcome to sell finished items created from this pattern. However, you must credit the designer and use your own original photographs for your product listings. Distributing the written pattern itself is not permitted.
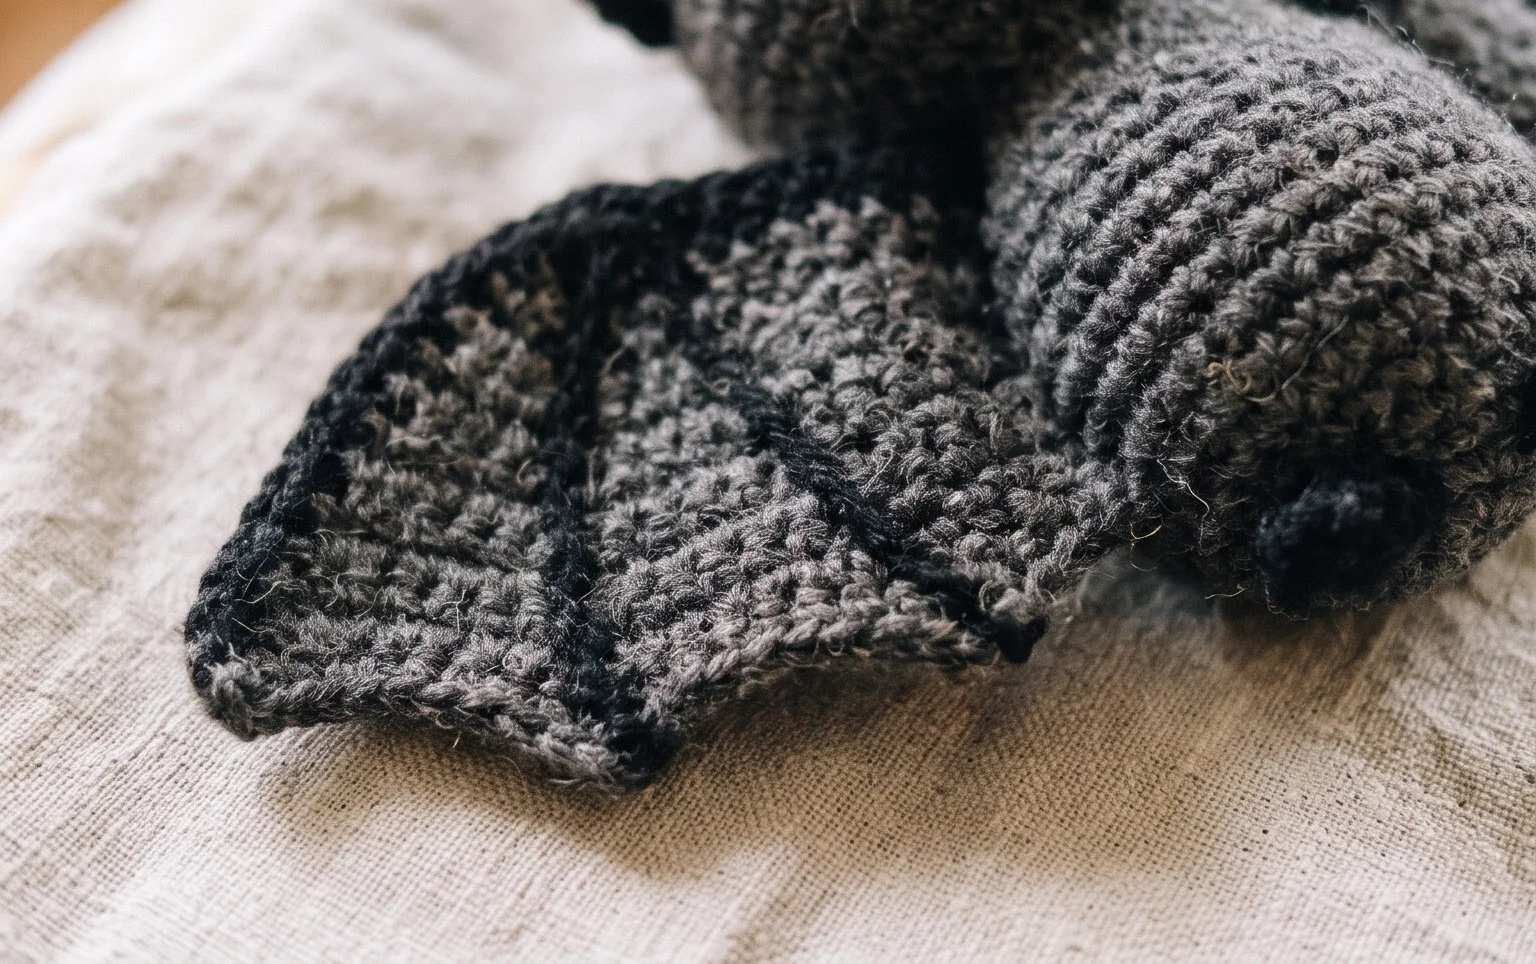
Your finished creature is ready to join your shelf or mantle, adding a playful touch to your seasonal arrangements. Try working this in a soft grey or even a deep purple yarn to change the look for a unique twist on the traditional theme. I encourage you to share your results on your preferred social media platform so others can see your color choices. You can find more free patterns for other seasonal decorations and small handmade items by exploring the archives here on the blog.