Easy Bricks and Square Crochet Pattern: Free Step-by-Step
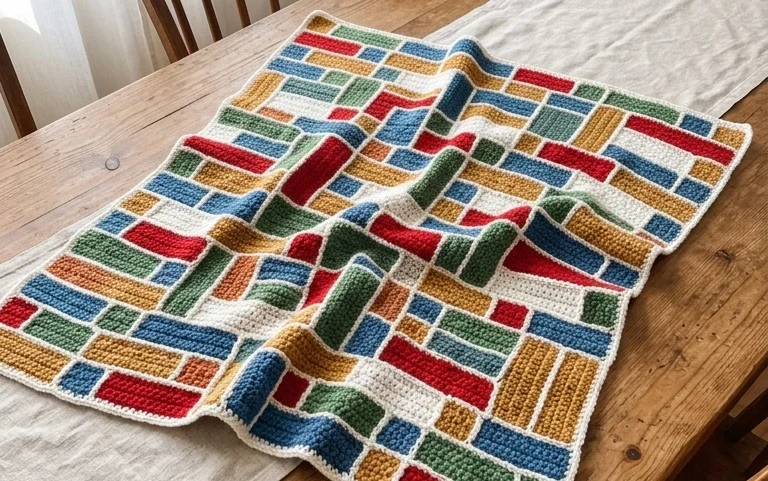
There is something inherently cozy about the structured geometry of this tactile design, which features a repeating motif that feels soft and substantial against your palms. Whether you are crafting a thoughtful handmade gift for a stylish teen or stitching a playful accessory for a child, this versatile pattern adapts beautifully to any color palette. It is a deeply satisfying project that builds rhythm quickly, making it a perfect retreat for beginners and seasoned makers alike. You will master a clever joining technique that adds professional polish to every edge while creating a sturdy, heirloom-quality piece you will adore.
Why You’ll Love This Pattern
This project is the quintessential “mindless” crochet pattern that allows you to destress after a long day. Whether you are a seasoned artisan or a confident beginner, you will appreciate how quickly this pattern works up, making it the perfect choice for last-minute gift-giving. Because it relies on basic stitches but results in a highly professional, textured finish, it is a fantastic way to practice consistency and tension. Furthermore, it is a brilliant scrap-yarn project, as the design looks equally stunning in a solid color or a gradient transition using leftover bits from your stash.
I managed to finish this over a single weekend while binge-watching my favorite show. The instructions are incredibly clear, and the finished piece feels so sturdy and professional. I will definitely be making a few more for my family members.
— Sarah, dedicated hobbyist
Pattern Overview & Skill Level
- Skill Level: Beginner
- Approximate Time: 3–5 hours
- Construction: Worked in joined rounds to create a seamless, structured circular base, transitioning into a straight tube body.
- Finished Dimensions: 8 inches tall by 6 inches diameter.
Materials & Supplies Needed
- Yarn: Worsted weight (#4), 100% Cotton, approximately 200 yards.
- Hook Size: 5.0 mm (H-8).
- Notions: Tapestry needle, stitch markers, scissors, and a measuring tape.
- Yarn Substitutions: Acrylic worsted weight yarn can be used for a softer, more flexible finish, though it will not hold its shape as rigidly as cotton. Using a bulky weight yarn will significantly increase the finished size and require more yardage.
Stitch Guide & Abbreviations (US Terms)
- ch: chain
- st(s): stitch(es)
- sl st: slip stitch
- sc: single crochet
- inc: increase (work 2 sc into the same stitch)
- BLO: back loop only (work through the rear loop of the stitch only to create a ridge)
Step-by-Step Pattern Instructions
Base
- Rnd 1: Start with a magic ring, ch 1, work 8 sc into ring, join with sl st to first sc. (8 sts)
- Rnd 2: Ch 1, inc in each st around, join with sl st. (16 sts)
- Rnd 3: Ch 1, *sc in next st, inc in next st; repeat from * around, join with sl st. (24 sts)
- Rnd 4: Ch 1, *sc in next 2 sts, inc in next st; repeat from * around, join with sl st. (32 sts)
- Rnd 5: Ch 1, *sc in next 3 sts, inc in next st; repeat from * around, join with sl st. (40 sts)
Body
- Rnd 6: Ch 1, working in BLO, sc in each st around, join with sl st. (40 sts)
- Rnd 7-20: Ch 1, sc in each st around, join with sl st. (40 sts)
- Rnd 21: Ch 1, *sc in next 3 sts, dec (sc2tog); repeat from * around, join with sl st. (32 sts)
- Rnd 22: Ch 1, sc in each st around, join with sl st, fasten off. (32 sts)
Finishing
Weave in all loose ends on the inside of the piece using your tapestry needle. Gently block the item by spritzing with water and shaping it over a circular object to ensure a uniform diameter.
Care & Washing Instructions
- Hand wash in cool water using a mild wool-friendly detergent.
- Gently squeeze out excess water; do not wring or twist the fabric.
- Lay flat on a towel away from direct sunlight to dry completely and maintain shape.
Pro Tips & Common Mistakes to Avoid
- Maintain Consistent Tension: Since this is a circular construction, if your tension loosens, the piece will become wavy. Use a slightly smaller hook if you find your stitches are too gapped.
- Use Stitch Markers: Always place a stitch marker in the first stitch of every round. Because we are working in joined rounds, this helps identify the exact spot to finish your join.
- Weaving Ends Invisibly: Always weave your ends back and forth through the back loops of the interior stitches to hide them from the right side of the fabric.
- Adjusting Size: You can increase the diameter by adding more increase rounds (e.g., sc in next 4, inc). Note that every additional increase round adds 8 stitches to the total count, which will require roughly 15% more yarn.
Frequently Asked Questions
Can I use wool instead of cotton for this project?
Yes, you can substitute wool. However, note that wool has more “give” and may result in a slightly slouchier finished item compared to the structured look of cotton.
How can I make this project taller?
Simply repeat the Body rows (Rnds 7–20) for as many additional rounds as you desire before beginning the final decrease round.
Is this pattern suitable for a total beginner?
Absolutely. It uses only the most fundamental stitches (ch, sc, sl st) and provides a great opportunity to learn about working in joined rounds versus continuous spirals.
Am I allowed to sell items made from this pattern?
You are welcome to sell finished products made from this pattern at small-scale markets. Please credit the original designer in your listings.
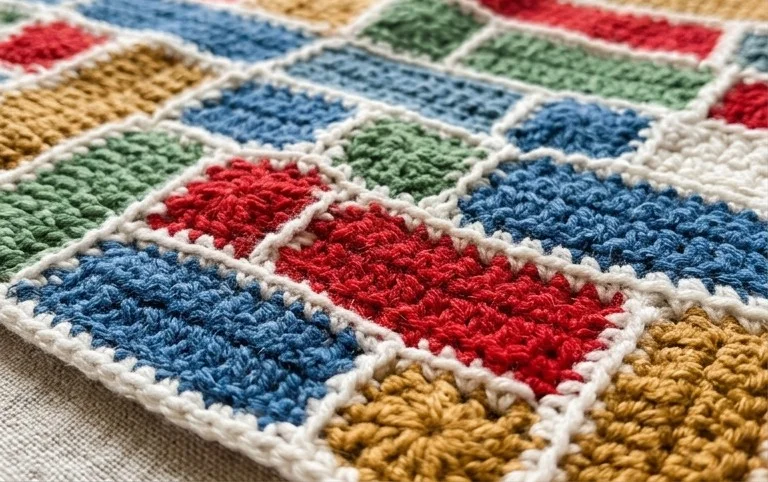
Whether you made this for a toddler or a teen, your handcrafted piece is sure to be a cozy treasure they will love for years to come. For a fun twist, try working this design up in a variegated yarn to give those stitches a playful, painterly look. I would absolutely adore seeing your beautiful work, so please share a photo on social media or Pinterest! Don’t forget to stick around and browse my other free patterns for even more creative inspiration.